I was able to finish the patchwork heart baby quilt just in time for the baby shower earlier this week! Mama loved it, and confessed that she had been hoping I would make her a quilt, but didn't want to ask for such a labor-intensive gift. Awwww, y'all know how fantastic that made me feel...like all of those hours spent are truly appreciated, and that my hand-made gift will be cherished, which is all we crafty peeps can hope for. YAY!
Here are some pics! I quilted loops and hearts in the main body of the quilt, and took a stab at quilting feathers in the colored borders and in the corners. I am always wanting to try something new!
 |
| Ta-Da! |
 |
| Quilting! |
 |
| "Dream Big Little One" |
This was also the first time I tried using rulers while quilting. I've been voraciously watching YouTube videos and drooling over the work of some wondrous quilters, especially longarmer Linda Hrcka of
The Quilted Pineapple and domestic machine quilter Karen Miller of
Karen's Quilts, Crows & Cardinals - Red Bird Quilt Co. Check them out, and just try to withstand the siren song of ruler quilting. I dare you!
So for this quilt, I made up a practice quilt sandwich. I don't know why, but it's really hard for me to "waste" perfectly good fabric and batting just for practice. Yes, I realize that it's necessary so that I don't destroy a "real" quilt, but it still bugs me. I dunno, just a weird hang up I have.
Feathers are tougher than they look! I like the "bump back" technique, and my second block above (the one on the left) already looks better than my first try (on the right). Also, I free-handed the middle "feather" on the right, but used a ruler for the one on the left. Guess what technique I used on the quilt...
I bought a Westalee ruler foot for my machine a bit ago, along with some rulers. I used the Quilted Pineapple's "BFF" curved ruler for the center, and also used a straight edge ruler to help with stitching in the ditch. I don't know why. but stitch in the ditch is soooo difficult for me! Give me loops, stipples, or any other all-over design, but don't make me SITD! When all was said and done, I think the corners came out okay for a first try:
 |
| Horrible Stitch in the Ditch, but pretty good feather design! |
Hard to see, but this is my best one! It's true what they say, to improve I just need to practice, practice, practice! I do know that I had fun using the rulers and I was happy with the results. Next time I have to remember to keep the motif farther from the quilt edge to allow adequate room for the binding. Ooopsy!
So, the whole ruler experience has been an encouraging one. That's why I'm looking forward to using them on this quilt:
This quilt stalled because I can't decide what to to do for the outer borders, and I'm actually not as thrilled with those sashing stars as I had thought I would be, so I'm kinda bummed. I tried buying even more matching fabric to give me more border options, but I'm still not sure. Over-analysis much? I just need to figure it out and finish it up so I can start obsessing over what quilting designs I'm going to use!
Unfortunately I also need to finish this, and it has a deadline, so ruler work is on hold:
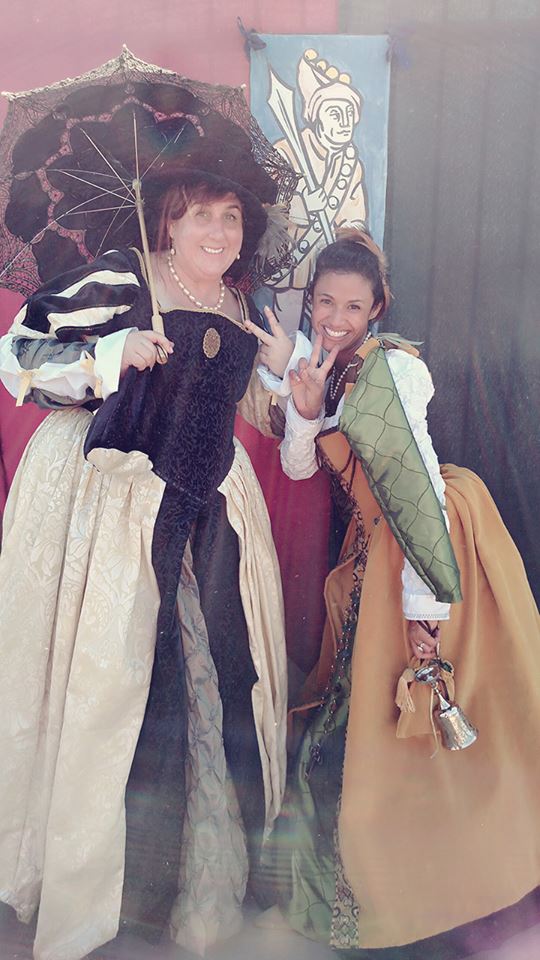
This is a velvet court gown I've been working on for 4 years which I am bound and determined to wear to
Ren Faire this year! My friend and I are planning on attending next weekend, and we've made a pact that we will be wearing our gowns, even though as I write this neither one of us is done with our outfits. I still have to make the sleeves, make a chemise, make a matching bag of some kind, and come up with some type of period-appropriate headpiece, quite possibly a fancy little flat cap. But I'd so much rather be quilting!!! ;-)